


This article is about basic git commands for begginers. Therefore, if you aren't new at git you can skip this article but if you are new please, stay with me 😁
What is Git?
According to git-scm.com,
Git is a free and open source distributed version control system designed to handle everything from small to very large projects with speed and efficiency.
Installation
Well, before to use Git commands you have to install git version control system to your computer. Open git-scm.com web page and find your operating system then download git.
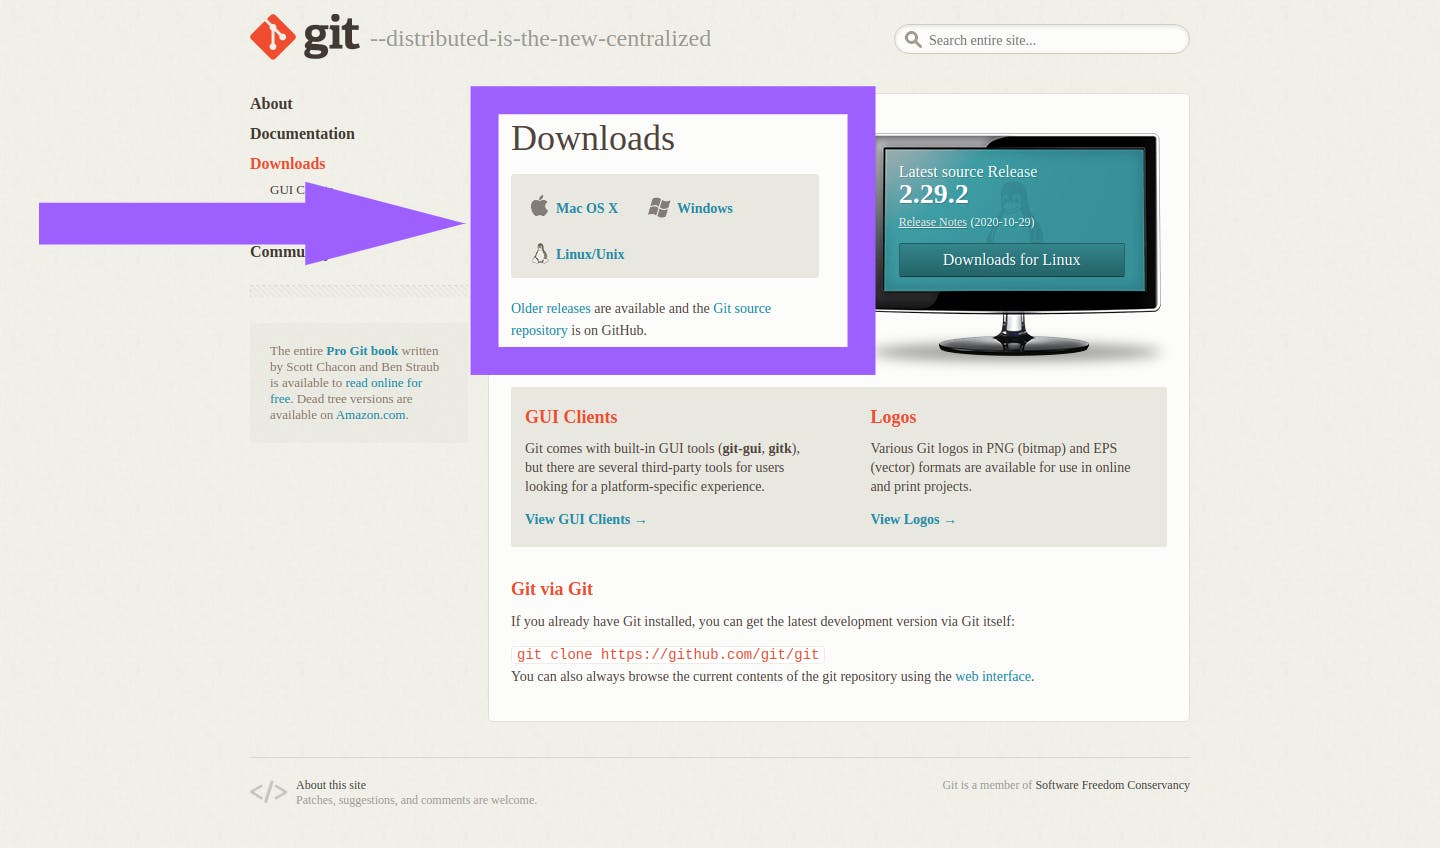
If you don't know how to install it, here is the video: How to Install Git?
Let's Begin
If you did all procedures in the video, all git commands will work fine. Open the terminal (cmd in Windows), then just type git and press enter. Git shows you all commands which you might use in your projects.
Before dive into git commands we need to understand some key terms.
- Repository: This is actualy like library which you can store your source codes.
- Branch: Some times we need to create new branches while doing a new project. Assume that you work on a software project with your team. One of your friend is working on a database system, the other one is working on UI on the same project. Branches allow your team mates to work on the same project without change main (or master) project files. At the end of your project, all of your branches can join to your main branch.
- Master Branch: This is main branch of your repository.
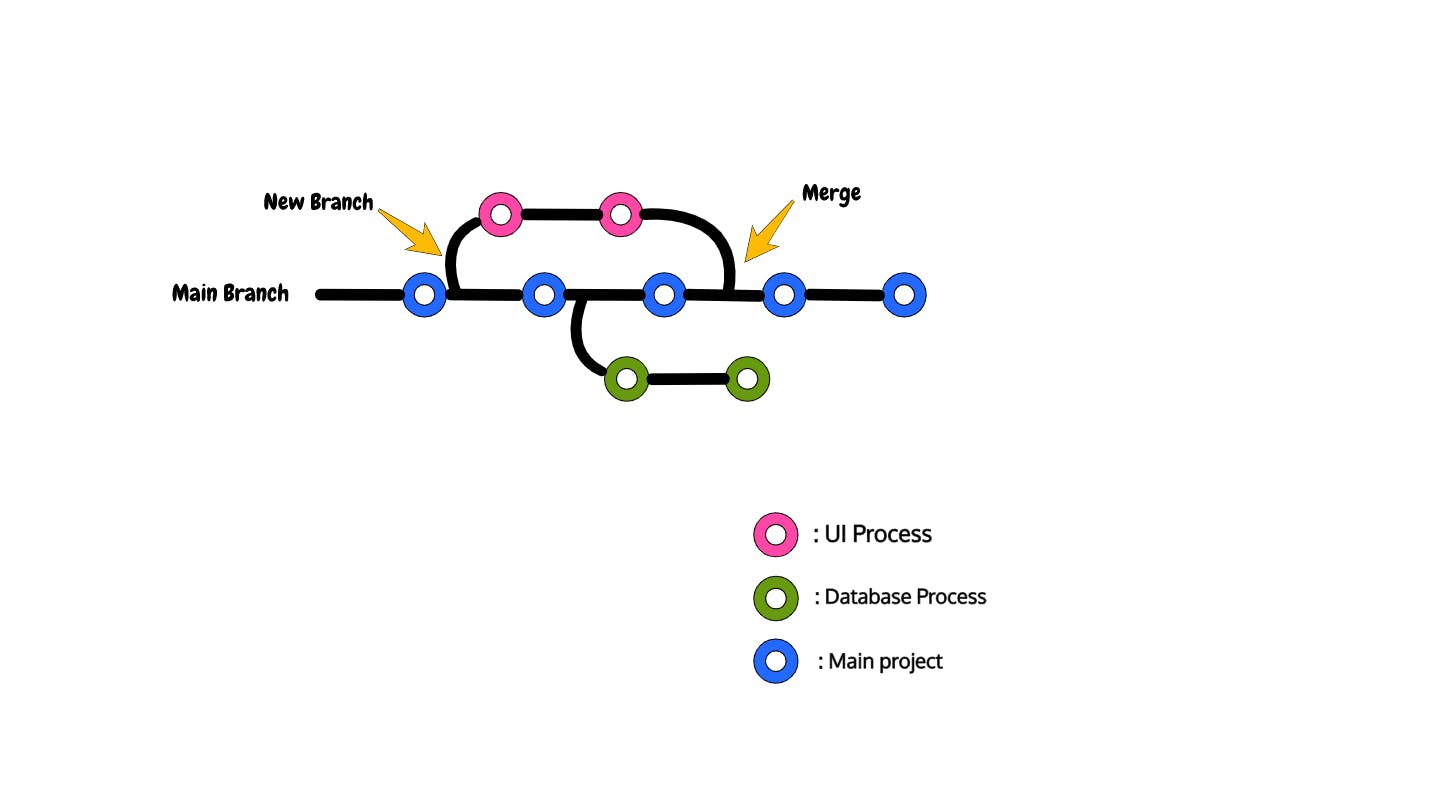 Please look at the illustration. While software developing continue, your team mate create a new branch for updating UI. Now, actually your team mate has a clone of your main project. Therefore, your main project doesn't affect during the UI updates. When finished the UI updates, updated version branch is joint to main branch.
Commit: When you changed something in your project files, it saves and it gives you explanatory log messages about contents which was changed.
Fork: It simply clones someone's repository to your remote repository and you can contribute this repository.
- Pull Request: You need a permission from forking repository's owner to include all changes at repository which you forked and contributed before.
- Merge: If you want your branches join to master branch you are actually doing merge operation.
Dive into Git Commands
Well, if you learned key terms let's start the git commands.
1. git config
This command is used for set User Name and User E-mail. When you try to view commit logs you can see the user information.
Set user e-mail:
git config --global user.email mail@adress.com
This example sets your e-mail adress.
Set user name:
git config --global user.name "FIRST_NAME LAST_NAME"
This example sets your user name.

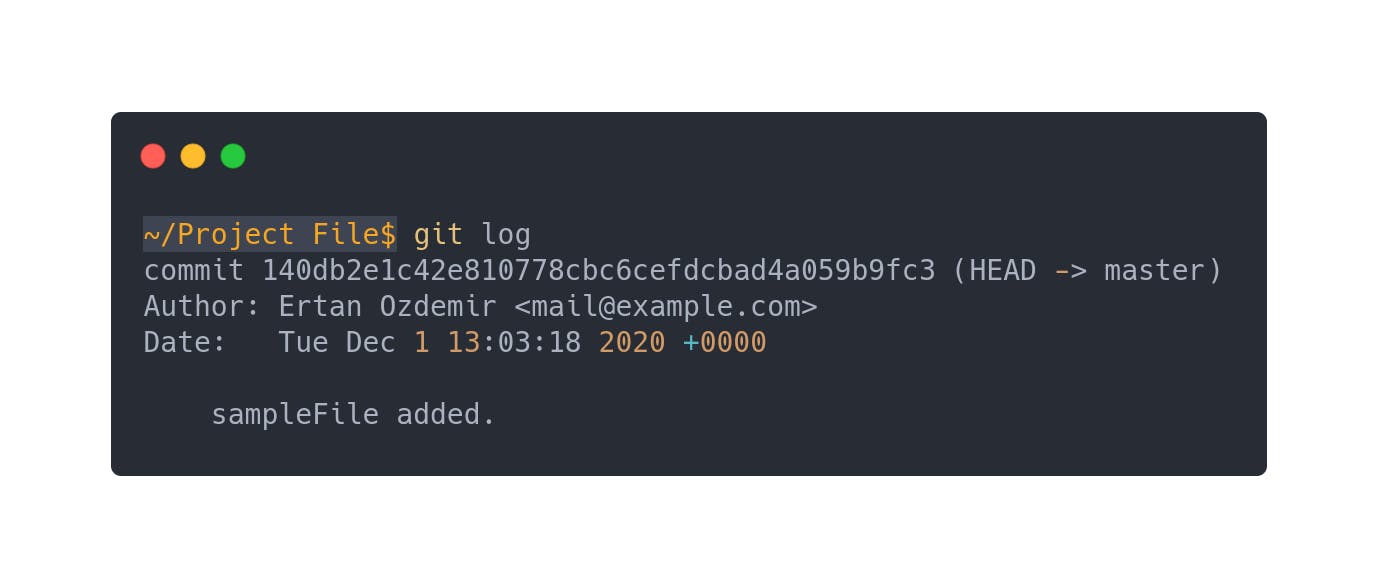
Above, we can see the user information that we set before in the Author section. But we didn't commit yet. Therefore you can't see on your screen for now.
2. git init
Ok, let's go to your project folder by command line. Then type git init. Git init command create a repository in you project folder. Thus, you can execute all git commands at your project folder.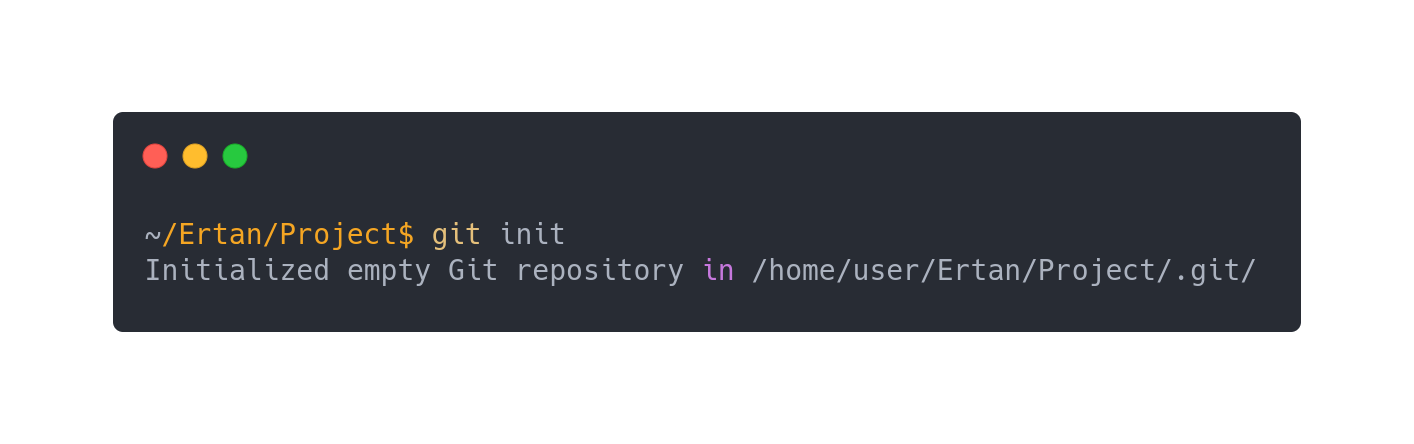
3. git add
git add command is used for adding files to created repository. Assume that we created a new 'sampleFile' file in our project folder. We want to add this new file to repository. We need to type git add sampleFile. If you want to add all files, you can type git add . Dot allows to add all files to repository.
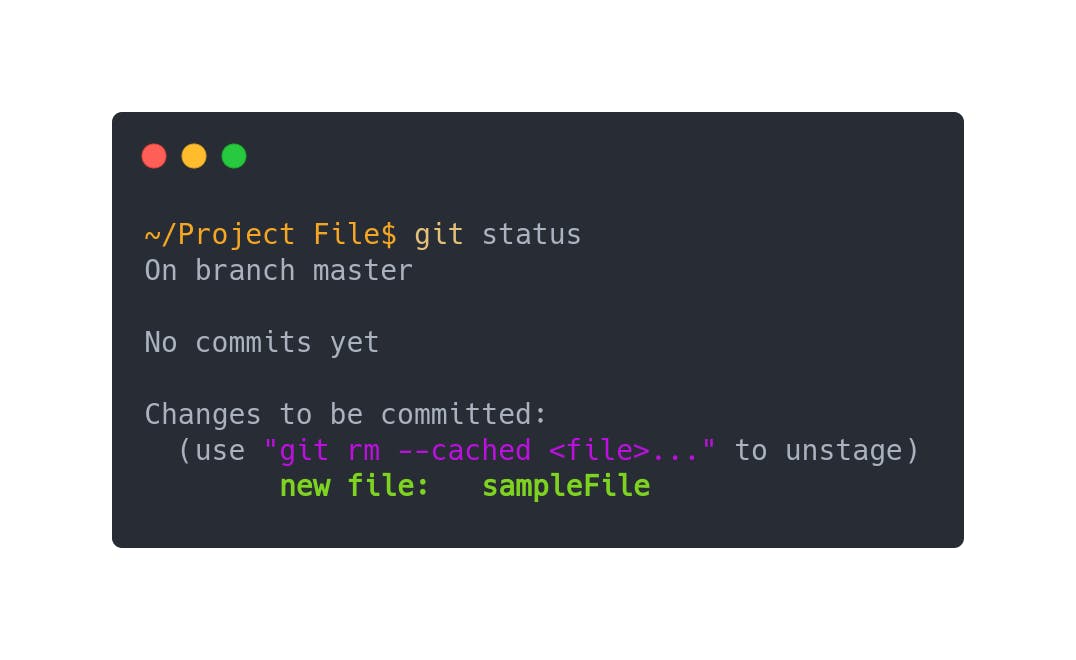
4. git status
Using git status command you can see changes to be committed.
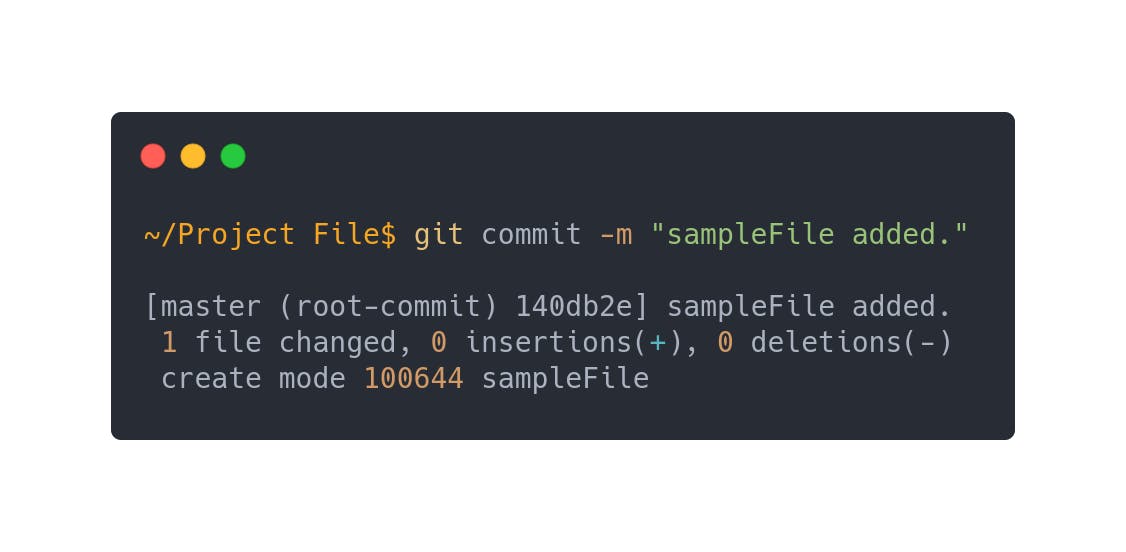
5. git commit
It simply records changes to repository with a description.
git commit -m "Your Description"
6. git log
You can see all commits using by git log command.
These guys are looks very complicated right? But don't wory, when you do a lot of practice you can handle it.
What's about Branches?
So far, we worked on master branch but in real time projects we need also branches. For this reason, we will look at the branch commands.
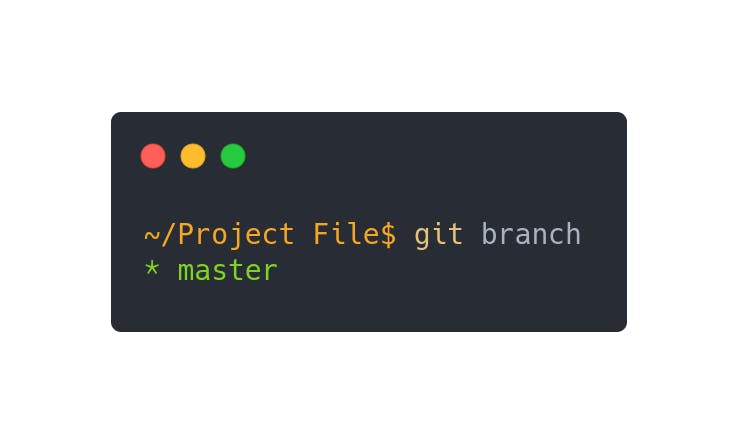
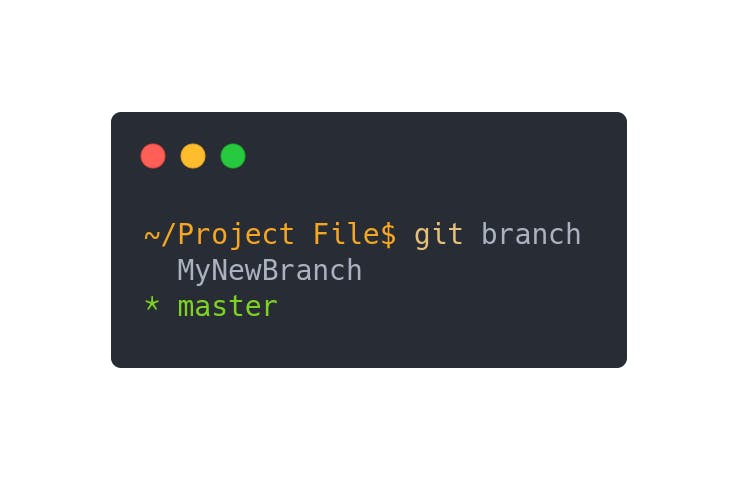
1. See All Branches
You can see all branches which are in your repository using by git branch command.
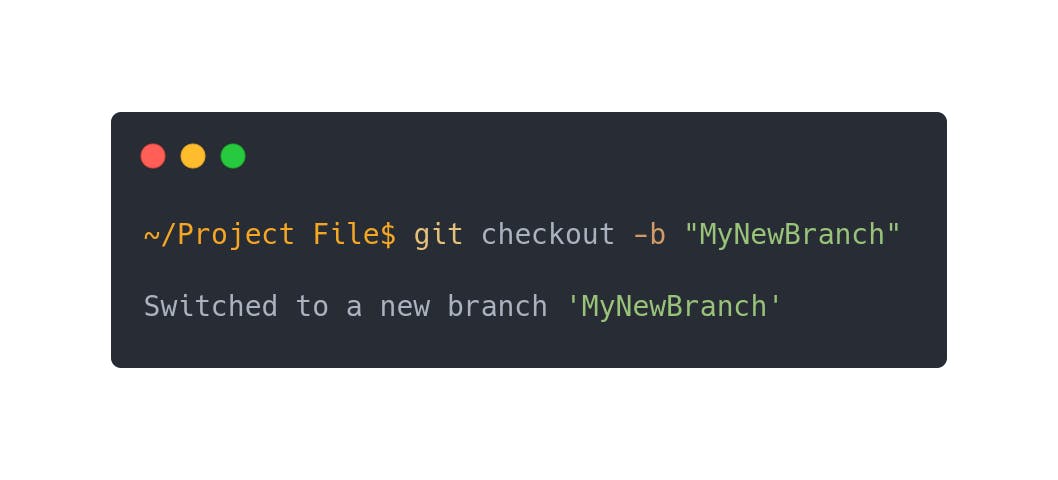
2. Create a New Branch
If you want to create a new branch you can use git checkout -b [branch_name]. It also switchs to created branch.
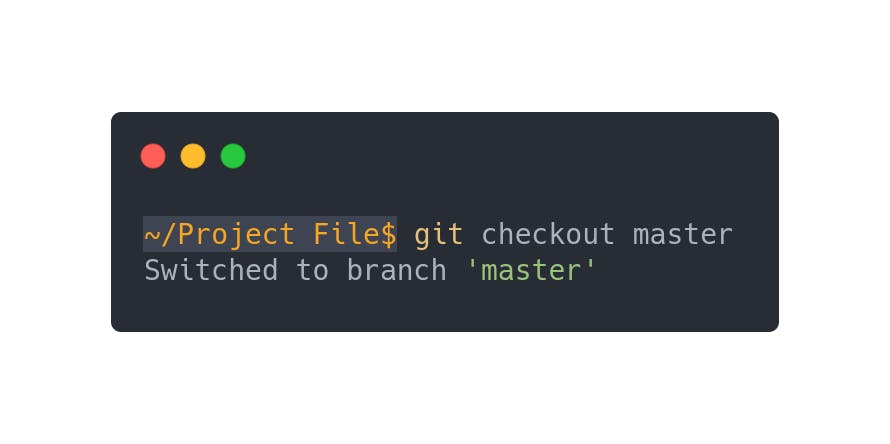
3. Switch Branches
git checkout [existingBranchName] is used for switching branches.
4. Delete Branch
If you want to delete a branch you have to type git branch -d branchname then you can successfully delete branch.
5. Learn Which Branch You Working on
Star (*) says that you are working on this branch.
Working with Remote Repositories
Soon, we are going to learn working with remote repositories but now I want to introduce a tool for stroge your git repos in it. It is GitHub. You have probably heard of it before. You can develop your project individual or with your team mates by GitHub. It is also very important tool for open source projects. In this section we will learn how to send our local repos to remote (GitHub's) repos and other commands.
1. Add Remote Repository Address to Your Local Repository
You need to open a new repository on GitHub for this step.
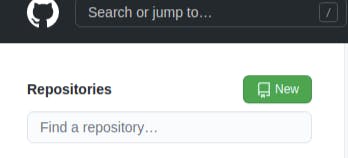 Tap
Tap New button to create a public repository and come back to source files on your computer.
If we want to upload our source files to remote repository, local repository need to know remote repo's web address. Therefore we will use this command:
git remote add origin https://github.com/YourRepoAddress
origin is the name of your remote repository. It is
abbreviation of Original. You can change the name of remote address. It is up to you but most of developers use it as origin.
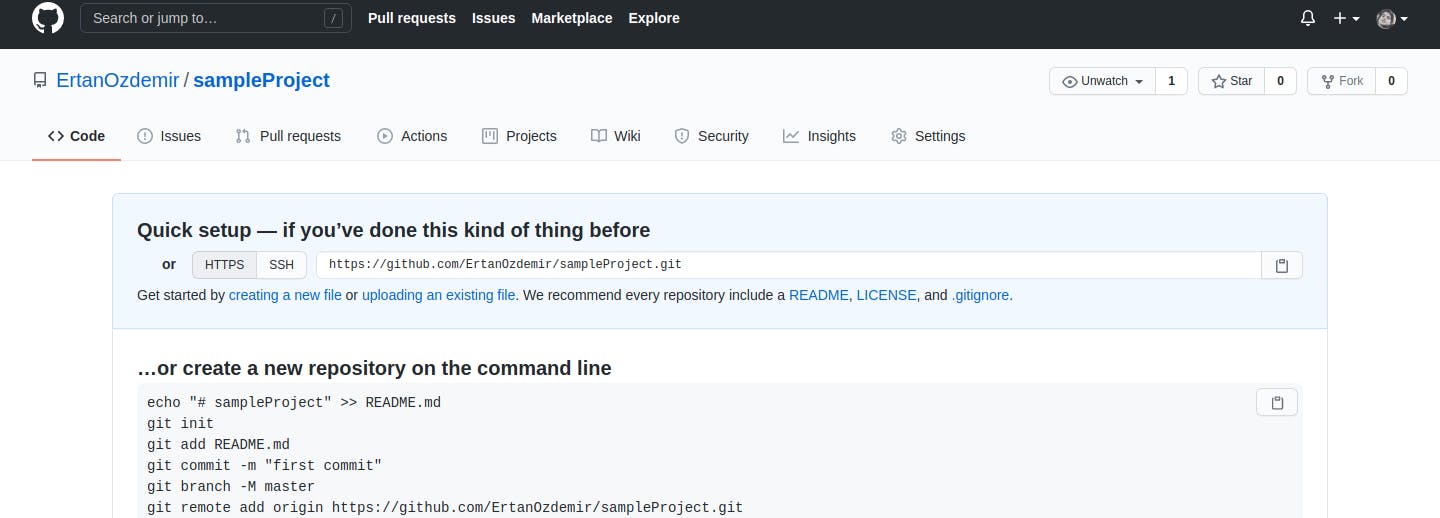
Also, GitHub shows you helpful commands when you create a repository first time.
2. Upload Local Repository to Remote Repository
After the commit operation in your local repository. You can upload your local repository to remote one. We will use git push -u remoteRepoName RemoteBranchName command. For instance, if you want to send to remote repository named origin. You need to type:
git push -u origin YourRemoteBranchName
Now you can see all source files on GitHub.
3. Fetch Remote Repository
Assume that you working on a project file with your team mates. When your team mate added some new code to your GitHub repo, your local repository going to out-dated. Therefore you need to fetch to examine your team mate's commits. Here is the command for fetching:
git fetch origin
4. Update Local Repository
After the third step you may decided to update your local repository. To update local repository you need to use git pull origin command. This command updates your local repository with latest version of your project files on GitHub.
Other Useful Commands
git diff
You can see diffirencies between local repository and remote repository.
git rm [file name]
You can delete a file from your local git repository.
git clone [remote repository adress]
You can clone other people's repositories to your computer.
I think all of these commands are enough for begginers. If you want to learn git commands detailed you can visit this web site: git-scm.com/docs
Thank you for reading. 🙌🏻
Photo by Markus Winkler on Unsplash